The average American kitchen has 30% more stuff in it than it has reasonable storage for. That’s not a real statistic — I made it up — but walk into any kitchen that hasn’t been deliberately organized and you’ll see it immediately: the Tupperware cabinet that avalanches when you open it, the spice rack where everything’s shoved behind everything else, the junk drawer that’s now three junk drawers. A kitchen renovation with custom cabinetry would fix this, sure — for $25,000-$60,000. Or you could spend a weekend and $100-$300 on organization solutions that solve 90% of the problem.
I’ll be honest — most kitchen organization advice is aspirational nonsense written by people with 400-square-foot kitchens and no children. Matching glass jars for every dry good look great on Instagram and terrible after three weeks of real life. What actually works is a system that’s easy to maintain, uses the storage you already have more efficiently, and doesn’t require you to fundamentally change your habits.
Key Takeaways
- Declutter before you organize. No storage solution compensates for having three sets of tongs and a fondue set you used once in 2019.
- Vertical space is almost always wasted. Shelf risers, hooks, and stackable organizers can double usable cabinet space for under $10 per cabinet.
- Zone your kitchen by activity. Coffee supplies near the kettle, cutting boards near the prep area, baking supplies together. Reducing steps reduces mess.
- Drawer organizers pay for themselves. A $15 bamboo divider for your utensil drawer saves you 30 seconds of rummaging, twice a day, for years.
- The back of cabinet doors is free real estate. Adhesive hooks, magnetic strips, and door-mounted racks add storage where none existed.
The Declutter Phase: Be Ruthless
Before buying a single organizer, empty every cabinet and drawer in your kitchen. Yes, all of them. Pile everything on your dining table and countertops. This is going to look alarming. That’s the point.
Now sort into three categories: keep, donate/sell, and toss. The “keep” pile should only include things you’ve used in the past 12 months. That bread maker from 2021? Donate. The 17 mismatched food storage containers with no matching lids? Recycle the orphans. The four spatulas when two would suffice? Pick your favourites.
Common items that accumulate beyond reason: coffee mugs (keep 6-8, not 23), water bottles (one per family member plus two extras), plastic bags stuffed inside other plastic bags, expired spices (that ground cumin from 2023 has no flavour left — toss it), novelty kitchen gadgets used once, and duplicate utensils.
Most households eliminate 20-30% of their kitchen contents during a proper declutter. That’s 20-30% more space you just created without spending a dollar. Put the “keep” items back into rough zones on the counter — we’ll organize them into cabinets next.
Zone Your Kitchen: Work Smarter, Not Harder
Professional kitchens are organized into stations: prep, cooking, plating, cleaning. Your home kitchen should follow the same logic, adapted to your layout.
The Coffee/Breakfast Zone: Usually near the kettle or coffee maker. Mugs, coffee, tea, filters, sugar, and whatever you grab every morning. If these items are spread across three different cabinets, you’re making your mornings harder for no reason. Consolidate them into one upper cabinet near where you brew.
The Cooking Zone: The cabinets and drawers immediately flanking your stove. This is where oils, salt, pepper, your most-used spices, spatulas, tongs, and cooking spoons should live. Pots and pans go in the lower cabinets or drawers nearest the range. If your cast iron skillet is stored across the kitchen from the stove, move it.
The Prep Zone: Near your main countertop workspace. Cutting boards, knives, mixing bowls, measuring cups, colanders. Keep these within arm’s reach of where you actually chop and mix.
The Baking Zone: If you bake regularly, dedicate a cabinet to baking sheets, mixing bowls, measuring cups and spoons, flour, sugar, baking powder, and extracts. If you bake twice a year, these can go in harder-to-reach upper cabinets.
The Cleaning Zone: Under the sink. Dish soap, sponges, garbage bags, cleaning sprays. A simple under-sink organizer ($15-$25 at any home store) with a pull-out caddy transforms this awkward space.
The goal is minimizing how far you walk and how many cabinets you open during any single task. Making coffee should involve one cabinet and one countertop area. Cooking dinner should involve the stove area and the prep area, nothing more.
Upper Cabinet Solutions
Upper cabinets are the most wasted space in most kitchens. The bottom shelf is accessible; the top shelf is a black hole where things go to be forgotten. Here’s how to fix that.
Shelf Risers
A shelf riser is a simple U-shaped wire or bamboo rack that sits on an existing shelf, creating a second level. They cost $8-$15 each and instantly double the usable surface area of a shelf. Use them for plates (stack dinner plates on the shelf, salad plates on the riser), mugs (front row and back row, both visible), or canned goods (back row elevated so you can see labels).
The best shelf risers are expandable — brands like SimpleHouseware and YouCopia make adjustable versions that fit different cabinet widths. Measure your cabinet interior width before ordering.
Lazy Susans
A turntable (lazy Susan) in a deep upper cabinet makes everything accessible without digging. They’re especially effective for spices, oils, vinegars, and condiments. A single 10-inch turntable ($8-$12) in your spice cabinet means you rotate to find what you need instead of pulling out seven jars to reach the one in the back.
For corner upper cabinets — those awkward L-shaped spaces where items disappear — a two-tier lazy Susan ($15-$20) is essentially mandatory. Nothing else makes corner cabinets functional.
Door-Mounted Racks
The inside of your cabinet doors is unused space. Adhesive hooks (Command brand, $5-$8 for a pack) can hold measuring cups, oven mitts, or lightweight utensils. Purpose-built door-mounted racks ($10-$20) create a shallow shelf perfect for spice jars, wrap boxes, or cleaning supply bottles on the inside of under-sink cabinet doors.
One caution: check that whatever you mount on the door doesn’t interfere with the shelves when the door closes. Measure the clearance between the door interior and the nearest shelf before installing anything.
Lower Cabinet and Under-Sink Organization
Lower cabinets are deeper and harder to access than uppers, which makes organization even more critical. The standard approach of stacking pots and pans in a dark cavern is awful — you always need the one on the bottom.
Pull-Out Drawers
Retrofit pull-out drawer slides are the single best upgrade for lower cabinets. A pull-out wire basket or drawer ($20-$40 per cabinet) mounts to the existing shelf and slides out on rails, giving you full visibility and access to the entire cabinet depth. No more kneeling on the floor reaching into the back corner.
Brands like Lynk Professional and Rev-A-Shelf make pull-out organizers in standard cabinet widths (12, 15, 18, 21 inches). Installation requires a drill and about 15 minutes per unit — four screws into the cabinet sides. If you’ve been putting off learning basic drill and driver skills, this is a great beginner project.
Pot and Pan Organization
Three approaches that work:
Vertical dividers: A set of wire or bamboo dividers ($15-$20) turns a deep lower cabinet into a filing system for baking sheets, cutting boards, and flat pans. Instead of stacking them horizontally (where removing one means moving six), slide them in vertically and pull out exactly the one you need.
Ceiling-mounted pot rack: If you have the ceiling height and the studs in the right places, a hanging pot rack ($40-$80) frees an entire lower cabinet. Mount it above an island or counter, not above a walkway where people will hit their heads. Use stud anchors — a loaded pot rack weighs 30-50 pounds.
Pan organizer rack: An expandable pan organizer ($15-$25) sits inside a cabinet and holds pans vertically or at an angle, separated by adjustable dividers. This is the path of least resistance — no installation, just set it in the cabinet.
Under-Sink Solutions
The under-sink cabinet is typically a mess of pipes, disposals, and cleaning products. A two-tier expandable organizer ($15-$25) that works around the plumbing creates structured storage. Add a tension rod across the top of the cabinet ($5) to hang spray bottles by their triggers — this alone frees up shelf space for other items.
Keep a small plastic bin ($3-$5) under the sink with your most-used cleaning supplies so you can grab the whole bin and carry it to wherever you’re cleaning.
Drawer Organization
Kitchen drawers without dividers are chaos. Everything migrates to the front, tangles together, and you spend 30 seconds finding the can opener that’s buried under the whisks.
The Utensil Drawer
A bamboo or plastic drawer divider ($12-$20) is non-negotiable for your primary utensil drawer. Get one with adjustable compartments — the YouCopia DrawerFit or Bambu adjustable organizer are both good. Assign each compartment: forks here, knives there, spoons there, cooking utensils in the wider sections.
The trick is having the right number of compartments. Too few and items still mix. Too many and the dividers take up more space than the utensils. For a standard 15-inch drawer, 5-7 compartments works well.
The Junk Drawer
Every kitchen has one. Rather than pretending you’ll eliminate it, organize it. A small multi-compartment tray ($8-$12) keeps pens, tape, batteries, scissors, and takeout menus from becoming an archaeological dig. Purge the junk drawer quarterly — toss dead batteries, expired coupons, and mystery keys that don’t open anything you can identify.
Deep Drawers for Pots and Pans
If your kitchen has deep drawers (6-10 inches deep), they’re better for pots and pans than lower cabinets. Stack pots with their lids and use a peg system — many drawer organizers ($20-$30) include adjustable pegs that hold pots and pans in place so they don’t slide around when you open the drawer.
Counter and Wall Space
Clear counters make a kitchen feel twice as large and significantly easier to clean. The goal is getting everything off the counter that doesn’t need to be there daily.
The Countertop Rule
Only items used daily belong on the counter: coffee maker, toaster (maybe), knife block, salt and pepper, a crock with your three most-used cooking utensils. Everything else — the stand mixer, the blender, the Instant Pot — goes into a cabinet or pantry and comes out when needed. Yes, even if it’s heavy. Especially if it’s heavy and you only use it weekly.
If counter space is tight, consider a small rolling cart ($30-$50, IKEA’s RÅSKOG is the classic) that stores the appliance you use most frequently and tucks into a corner or pantry when not in use.
Magnetic Knife Strip
A wall-mounted magnetic knife strip ($15-$25) replaces a bulky countertop knife block and keeps knives visible, accessible, and off the counter. Mount it on a backsplash wall at a comfortable reaching height. Make sure it’s out of reach of small children. A 12-inch strip holds 4-6 knives; an 18-inch strip holds 6-10.
Wall-Mounted Rails and Hooks
A rail system like IKEA’s KUNGSFORS or a simple stainless steel bar ($10-$20) with S-hooks ($5 for a pack) turns any stretch of wall or backsplash into hanging storage. Hang frequently used utensils, oven mitts, colanders, or small pots. This works particularly well in small kitchens where cabinet space is limited.
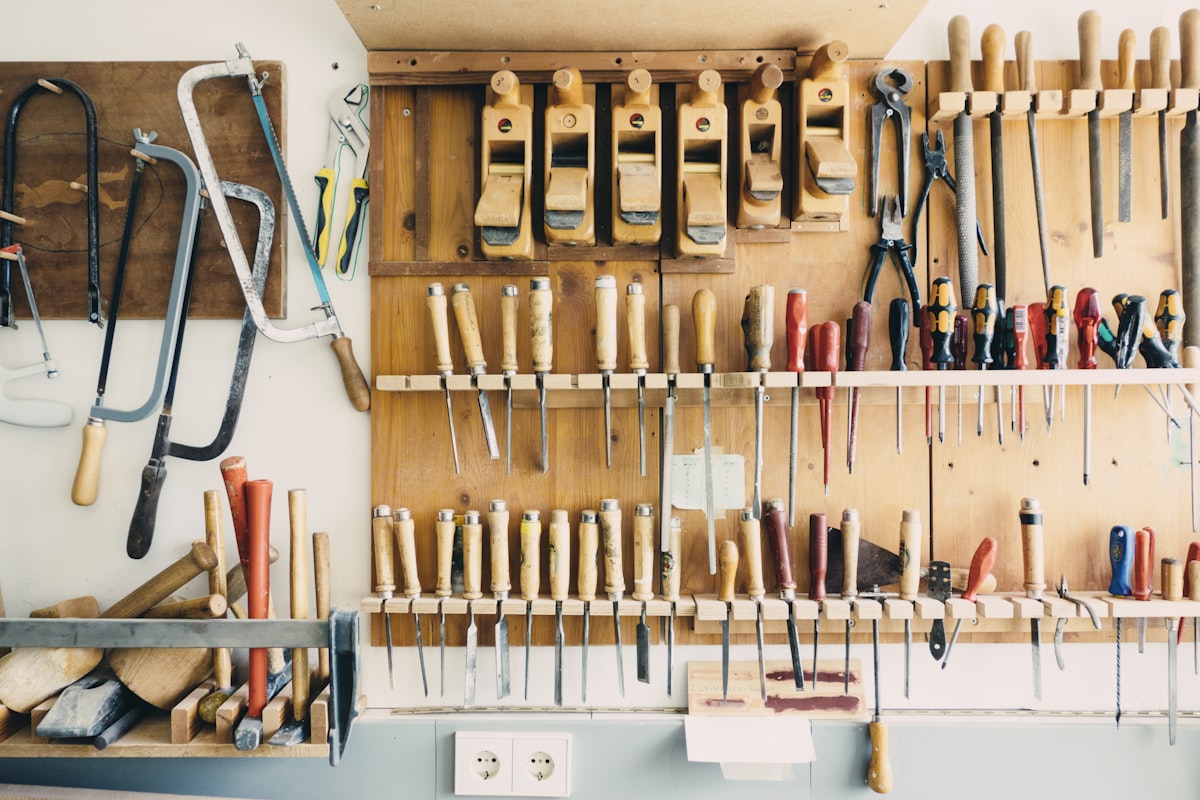
Pegboard
A kitchen pegboard ($20-$40 for a 2x4 foot panel with hooks) is the maximalist version of the rail system. Mount it on an empty wall and customize the hook layout for your specific tools and utensils. It’s functional, visually interesting, and endlessly reconfigurable. If you’ve done any room painting, you know how much a feature wall can change a space — a well-organized pegboard does double duty as storage and visual interest.
Pantry Organization
A disorganized pantry leads to duplicate purchases (you buy more cumin because you can’t see the cumin you already have) and food waste (items expire behind other items).
The Bin and Basket System
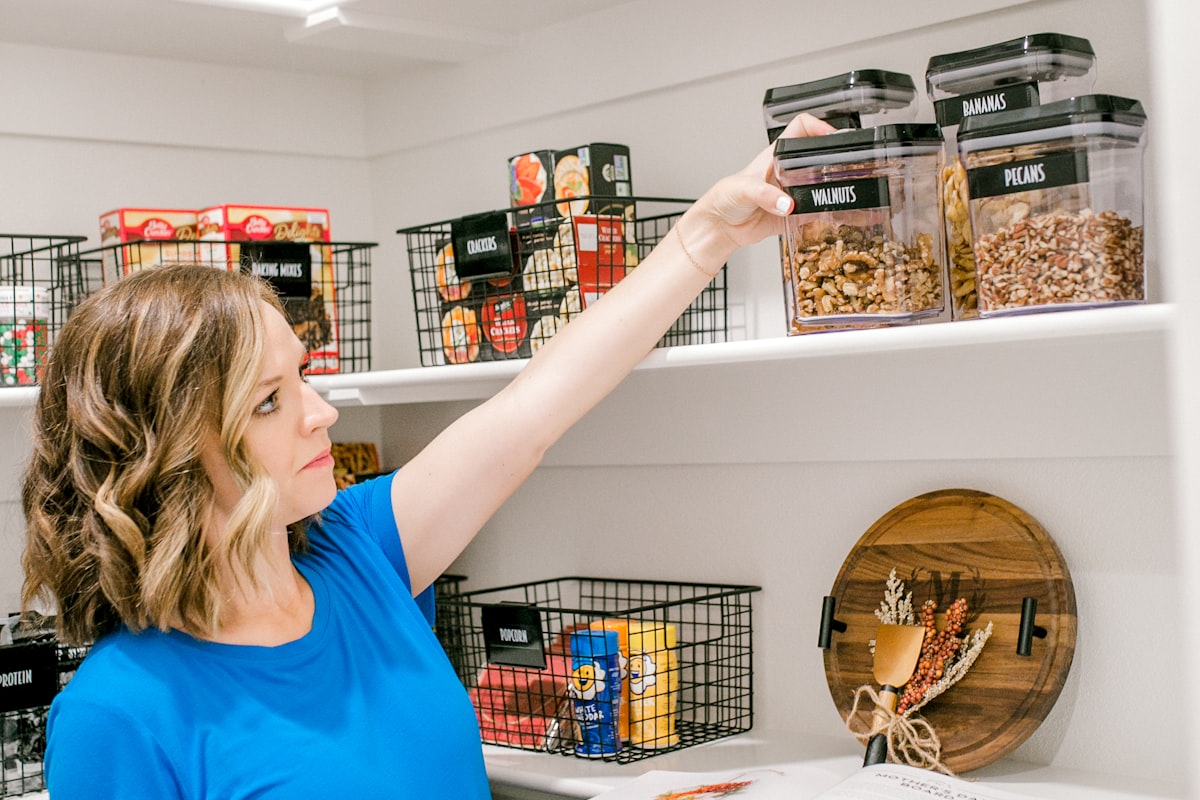
Clear, stackable bins ($3-$5 each at Dollar Tree, Target, or IKEA) grouped by category are the most practical pantry system. One bin for snacks, one for pasta and grains, one for canned goods, one for baking supplies. Label the bins with a label maker or painter’s tape and a marker. When you need something, pull the bin out, grab it, push the bin back.
This works because it introduces the concept of “contained mess.” Inside each bin, items can be loosely arranged. The bin itself keeps the category from spreading across three shelves.
Turntables for Condiments and Oils
A lazy Susan on a pantry shelf corrals the bottles of soy sauce, vinegar, hot sauce, and oils that otherwise form an unruly crowd. One spin and you can see and reach everything. This is a $10 fix for a problem that annoys you daily.
Can Organizers
Canned goods stack poorly — they roll, they hide labels, they form precarious towers. A tiered can organizer ($10-$15) or a simple can dispenser rack ($12-$20) keeps cans visible and accessible, FIFO style (first in, first out). When you buy new cans, load from the back. Use from the front. No more discovering a can of chickpeas that expired in 2024.
The “Decant Everything Into Matching Jars” Question
Looks amazing. Costs $50-$100 for a full pantry set of airtight glass or plastic jars. Adds a step every time you buy groceries (pour cereal from box into jar, fold box, recycle box). Loses the cooking instructions and expiration dates printed on the original packaging. Worth it? For flour, sugar, rice, and other bulk staples that you buy frequently and that benefit from airtight storage — yes. For everything else — probably not, unless the aesthetic genuinely brings you joy and you’ll maintain it.
Small Kitchen Specific Strategies
If your kitchen is under 100 square feet — common in apartments, condos, and older homes — every square inch matters more.
Use the top of the refrigerator. A basket or bin on top of the fridge stores items you need infrequently: the waffle maker, holiday cookie cutters, the extra paper towels.
Over-the-door organizer on the pantry door. A clear shoe organizer ($10-$15) hung over the pantry or broom closet door holds spices, snack bars, packets, and small items that would otherwise consume shelf space.
Nesting cookware. Replace mismatched pots and pans with a nesting set that stacks compactly. A good nesting set of 4-5 pieces takes up the space of 2 traditional pots.
Magnetic spice rack on the refrigerator side. Small magnetic containers ($15-$20 for a set of 12-15) stick to the side of the fridge and hold spices without using any shelf or counter space.
Fold-down or pull-out cutting board. Some countertop gaps accommodate a cutting board that slides into a cabinet or a fold-down shelf that provides extra prep space when needed and disappears when not.
Maintenance: Keeping It Organized
The organization phase is the easy part. Maintaining it requires two habits.
The one-in-one-out rule. Every time a new kitchen item enters your home, one should leave. New mug? Donate an old one. New gadget? Which existing gadget does it replace? This prevents the slow accumulation that got you here in the first place.
The quarterly 15-minute purge. Set a calendar reminder for every three months. Spend 15 minutes going through the fridge, pantry, and one cabinet or drawer. Toss expired items, rehome anything that’s migrated from its designated zone, and donate anything you haven’t used since the last purge.
The energy efficiency of your kitchen also benefits from organization — a well-organized fridge is opened less frequently and for shorter periods, reducing energy waste. If you’re interested in the broader picture, our energy efficiency guide covers how daily habits affect your utility bills.
Frequently Asked Questions
How much should I spend on kitchen organization?
For a complete kitchen organization overhaul, $100-$300 covers most standard-sized kitchens. That breaks down roughly as: $20-$40 for drawer organizers, $30-$60 for shelf risers and turntables, $20-$40 for pull-out or under-sink organizers, and $20-$50 for pantry bins and containers. The highest-impact item per dollar is a utensil drawer divider ($12-$20) — it improves your daily experience more than any other single purchase.
Are expensive container sets like The Container Store worth it?
Some items from specialty stores are worth the premium — their custom-fit drawer organizers and modular pantry systems are genuinely better designed than generic options. But for basics like bins, turntables, and shelf risers, Target, IKEA, Dollar Tree, and Amazon offer functionally identical products at 40-60% less. Buy premium where precision matters (drawer dividers that need to fit exactly) and budget where it doesn’t (pantry bins, under-sink organizers).
How do I organize a kitchen with almost no cabinet space?
Go vertical and go external. Wall-mounted rails, pegboards, and magnetic strips use wall space instead of cabinet space. A rolling cart or bar cart adds mobile storage. Over-the-door organizers create storage on cabinet and pantry doors. A freestanding pantry cabinet or bookshelf ($50-$150) near the kitchen provides overflow storage for items that won’t fit in the kitchen proper. In very small kitchens, you also need to be more aggressive about decluttering — limited space means limited items, full stop.
Should I hire a professional organizer?
A professional organizer costs $50-$150 per hour, with a typical kitchen taking 4-8 hours ($200-$1,200). For most people, the DIY approach covered in this guide works perfectly well. Where a professional adds value is if you’re genuinely overwhelmed by the volume of stuff, have difficulty making discard decisions, or want a custom system designed around your specific kitchen layout and cooking habits. Think of it like hiring a personal trainer — you could learn the exercises yourself, but the accountability and expertise speed up the process.
What’s the single most impactful organization change I can make?
Declutter first, but if you’ve already done that: install pull-out drawers in your two most-used lower cabinets. The shift from “crouch down and dig through a dark cabinet” to “slide out a drawer and see everything” is transformative. It’s a $40-$80 investment, about 30 minutes of installation, and you’ll notice it every single day.