A gallon of paint costs $30-$60. Hiring a professional to paint a 12x12 bedroom costs $400-$800. That math is why painting is the most popular DIY home improvement project in America, and also why there are so many badly painted rooms in America. The paint itself is easy. The prep, technique, and patience that separate a professional-looking job from a “well, we tried” job are what this guide is about.
Here’s the single most important thing I can tell you about painting: prep is 80% of the job. The actual painting — the fun part with the rollers and the instant gratification — is 20%. Every homeowner who’s unhappy with their paint job skimped on prep. Every single one.
Key Takeaways
- Surface preparation determines the final result. Filling holes, sanding, cleaning walls, and priming account for most of the work and most of the quality.
- Cutting in is a learned skill. Practice on a closet wall before tackling the living room. A steady hand replaces painter’s tape for most people after a few rooms.
- Buy quality paint. The difference between a $30 gallon and a $50 gallon is coverage, durability, and how many coats you need. Better paint saves you time and often money.
- Two coats is the standard. One coat is rarely sufficient, regardless of what “one-coat coverage” labels claim.
- Clean up before the paint dries. Dried latex paint on a hardwood floor is a problem. Wet latex paint wipes up with a damp rag.
Tools and Materials
Let’s get the shopping list out of the way. Here’s what you need for a single room:
Paint:
- 1-2 gallons of wall paint (coverage is roughly 350-400 sq ft per gallon; measure your walls)
- 1 quart of trim paint (if painting trim)
- 1 quart or gallon of primer (if needed — more on this below)
Application tools:
- 9-inch roller frame
- 3-pack of 3/8-inch nap roller covers (for smooth to lightly textured walls) or 1/2-inch nap (for textured walls)
- 2.5-inch angled sash brush (Purdy Clearcut or Wooster Shortcut — these two are the gold standard, $10-$15 each)
- Paint tray and liners ($5 for the tray, $3 for a 5-pack of liners)
- Extension pole for the roller ($10-$20, or use a threaded broomstick)
Prep supplies:
- Painter’s tape (FrogTape or 3M ScotchBlue, $5-$8 per roll)
- Drop cloths — canvas for the floor ($15-$25, reusable for decades), plastic for furniture ($5 for a pack)
- Lightweight spackle (DAP DryDex, $7)
- Putty knife set ($5-$8)
- 220-grit sandpaper or sanding sponge ($3-$5)
- TSP (trisodium phosphate) or TSP substitute for cleaning walls ($5)
- Damp rags
Total cost for supplies (excluding paint): $60-$100. You’ll reuse most of this on the next room.
Surface Prep: The 80% That Determines Everything
Walk into the room and look at the walls like they’re about to be under a spotlight — because they will be. Fresh paint highlights every imperfection you’ve been ignoring. That hairline crack, the bumps from old picture hangers, the scuff mark from moving the couch — all of these show through paint. Fix them now.
Remove Everything
Take down all outlet covers and light switch plates (put the screws in a ziplock bag so you don’t lose them). Remove curtain rods, hooks, and anything else mounted to the walls. Pull furniture to the centre of the room and cover it with plastic. Lay canvas drop cloths on the floor — not plastic, which is slippery and paint pools on it without absorbing. Canvas absorbs drips and stays in place.
Fill Holes and Cracks
Nail holes, screw holes, and small dents: fill with lightweight spackle using a putty knife. DAP DryDex goes on pink and dries white, which takes the guesswork out of drying time. For small holes, apply spackle, scrape flush with the wall in one motion, and move on. It dries in 30-60 minutes.
Larger holes (up to about 3 inches): use a self-adhesive mesh patch kit ($5 at any hardware store). Stick the mesh over the hole, apply spackle over it in thin layers, let each layer dry, and build up until it’s flush. This might take two or three applications.
Cracks in drywall corners or along seams: apply a thin bead of paintable latex caulk (not spackle — spackle cracks again in flex points). Smooth it with a wet finger. This is one of the most overlooked steps and it makes a big visual difference.
For anything larger than 3 inches or for drywall that’s been water damaged, you’re looking at a drywall patch job that’s beyond basic prep. It’s still DIY-able — search “California patch drywall” for the standard technique — but it requires more skill and patience.
Sand
After the spackle dries, sand every patched area with 220-grit sandpaper or a sanding sponge until it’s smooth and flush with the surrounding wall. Run your hand over it — if you can feel an edge, keep sanding. Wipe away dust with a damp rag.
If the existing paint is glossy or semi-gloss, lightly sand the entire wall surface to give the new paint something to grip. You’re not removing paint — you’re just scuffing the surface. A sanding pole with a 150-grit screen makes this faster for large walls.
Clean the Walls
Dust, grease, and grime prevent paint from bonding properly. Kitchens and bathrooms are especially prone to this. Wipe down walls with a solution of TSP substitute (follow package directions) and a sponge. Rinse with clean water. Let the walls dry completely — at least an hour, preferably overnight.
For most bedrooms and living rooms that aren’t particularly dirty, a wipe-down with a damp rag to remove dust is sufficient. Don’t skip this step in kitchens though. Grease film is invisible and it will cause the paint to peel.
Primer: When You Need It and When You Don’t
Primer is not always necessary, but when it is, skipping it creates problems that extra coats of paint won’t solve.
You need primer when:
- You’re painting over new drywall or drywall patches (the unprimed paper absorbs paint unevenly)
- You’re making a dramatic colour change (dark to light, or light to very saturated dark)
- You’re covering stains — water stains, smoke stains, marker, crayon (use a stain-blocking primer like Zinsser BIN shellac-based primer for these)
- The existing surface is glossy and you want maximum adhesion
- You’re painting over bare wood (trim, window sills)
You probably don’t need primer when:
- You’re repainting a previously painted wall in a similar colour
- The existing paint is in good condition (no peeling, no sheen issues)
- You’re using a high-quality paint with built-in primer (more on this below)
A common question: do “paint and primer in one” products replace standalone primer? Partially. Products like Benjamin Moore Regal Select or Sherwin-Williams Emerald have enough binder and pigment to provide good adhesion and coverage over previously painted surfaces without a separate primer coat. But they don’t replace a stain-blocking primer over water stains, and they don’t replace a bonding primer over glossy surfaces. Use them for routine repainting; use standalone primer for problem surfaces.
Good primer choices:
- Zinsser Bulls Eye 1-2-3: Water-based, all-purpose, excellent adhesion. The go-to for general priming. $25/gallon.
- Zinsser BIN Shellac-Based: The nuclear option for stain blocking. Covers water stains, smoke, marker, even pet odours. Smells terrible and requires mineral spirits for cleanup, but nothing blocks stains better. $35/gallon.
- Kilz 2 All-Purpose: A solid budget option. $20/gallon.
Choosing Your Paint
Finish Types
Flat/Matte: No sheen. Hides wall imperfections the best. Hardest to clean — scuff marks and fingerprints don’t wipe off easily. Use it on ceilings and low-traffic rooms where you want the most forgiving visual surface.
Eggshell: Slight sheen, like the shell of an egg (hence the name). The most popular wall finish for good reason — it hides imperfections reasonably well while being washable enough for everyday life. Use it in living rooms, bedrooms, and hallways.
Satin: Noticeable soft sheen. More durable and easier to clean than eggshell. Good for kitchens, bathrooms, kids’ rooms, and high-traffic areas. Shows wall imperfections more than eggshell.
Semi-Gloss: Obvious sheen. Very durable and easy to clean. Traditional choice for trim, doors, cabinets, and bathrooms. Shows every wall imperfection, so it’s a poor choice for walls unless they’re perfectly smooth.
High-Gloss: Mirror-like finish. Extremely durable. Used almost exclusively for trim, doors, and cabinets where a polished look is desired. Requires perfect surface prep because it magnifies every flaw.
The standard approach: Eggshell or satin on walls, semi-gloss on trim and doors, flat on ceilings.
Paint Brands Worth Buying
The difference between a $30 gallon and a $55 gallon isn’t just brand markup. Premium paints have more pigment (better coverage per coat), more binder (better durability and adhesion), and finer grind (smoother application). They’re also thicker, which means less dripping and better “open time” — the window where you can work with wet edges before they start to set.
Top tier: Benjamin Moore Regal Select ($55-$65/gallon) and Sherwin-Williams Emerald ($70-$80/gallon). These go on beautifully, cover in two coats over almost anything, and last 10-15 years on walls. If you’re painting one room, the extra $20-$30 per gallon is trivially cheap compared to your time.
Great mid-range: Benjamin Moore ben ($45-$50), Sherwin-Williams SuperPaint ($50-$55), Behr Ultra ($35-$40 at Home Depot). These are all genuinely good paints that cover well and last.
Budget that works: Behr Premium Plus ($30-$35 at Home Depot). Solid performance at the lowest price point worth considering. Below this tier, you’re getting paint that takes three coats and doesn’t last.
Avoid: Any paint under $25/gallon. You’ll use more of it, it’ll take extra coats, and it won’t hold up. You’ll spend more on cheap paint than you would on one fewer coat of good paint.
Cutting In: The Technique That Separates Amateurs from Pros
Cutting in is painting a clean line where the wall meets the ceiling, trim, or another colour — the areas the roller can’t reach. This is the skill that makes or breaks a paint job.
The Tape Debate
Painter’s tape (FrogTape for latex paint, ScotchBlue for general use) produces a clean line if applied correctly. The key: press the edge of the tape firmly onto the surface with a putty knife or plastic card. If the edge isn’t sealed, paint bleeds underneath. Remove tape while the paint is still slightly tacky — waiting until it’s fully dry can pull paint off with it.
But here’s the thing: taping a room properly takes 30-60 minutes. An experienced painter cuts in the entire room freehand in the same time, with a better result. Tape also fails at inside corners, on textured ceilings, and over uneven surfaces.
My recommendation: tape the ceiling line and around trim if this is your first or second paint job. Practice cutting in freehand on closet walls, a guest bathroom, or a laundry room. By your third or fourth room, you’ll likely be faster and more confident without tape.
How to Cut In
Load your brush by dipping about 1/3 of the bristles into the paint. Tap (don’t wipe) both sides against the container to remove excess. You want the brush loaded but not dripping.
Hold the brush like a pencil, not like a hammer. Your fingers should be near the base of the handle for fine control.
Start about 1/2 inch away from the line you’re cutting to, and paint a short stroke to distribute paint on the wall. Then go back and push the paint toward the line with the tip of the brush, using slow, steady pressure. The goal is to create a paint bead at the bristle tips that you guide along the line.
Work in 18-24 inch sections. Maintain a wet edge — if you let the cut-in line dry before rolling the adjacent wall, you’ll see a visible overlap line (called a “hat band”). Paint about 4-6 feet of cut-in line along the ceiling, then immediately roll that section before cutting in the next 4-6 feet.
The angle of the brush matters. Angle the bristles so only the tip makes contact with the corner. Too flat and you push paint past the line. Too steep and you don’t deposit enough paint. About 45 degrees works for most people.
Common Cutting-In Mistakes
Loading too much paint. An overloaded brush drips and bleeds. Less is more — you can always add another pass, but you can’t take back a drip that ran behind the trim.
Going too fast. Speed comes with practice. For your first room, go slow. A clean, slow line looks professional. A fast, wobbly line looks rushed.
Skipping the “back-brush.” After cutting in a section, lightly drag the brush back through the wet paint to smooth out brushstrokes. This levels the paint and prevents heavy texture along the cut-in areas.
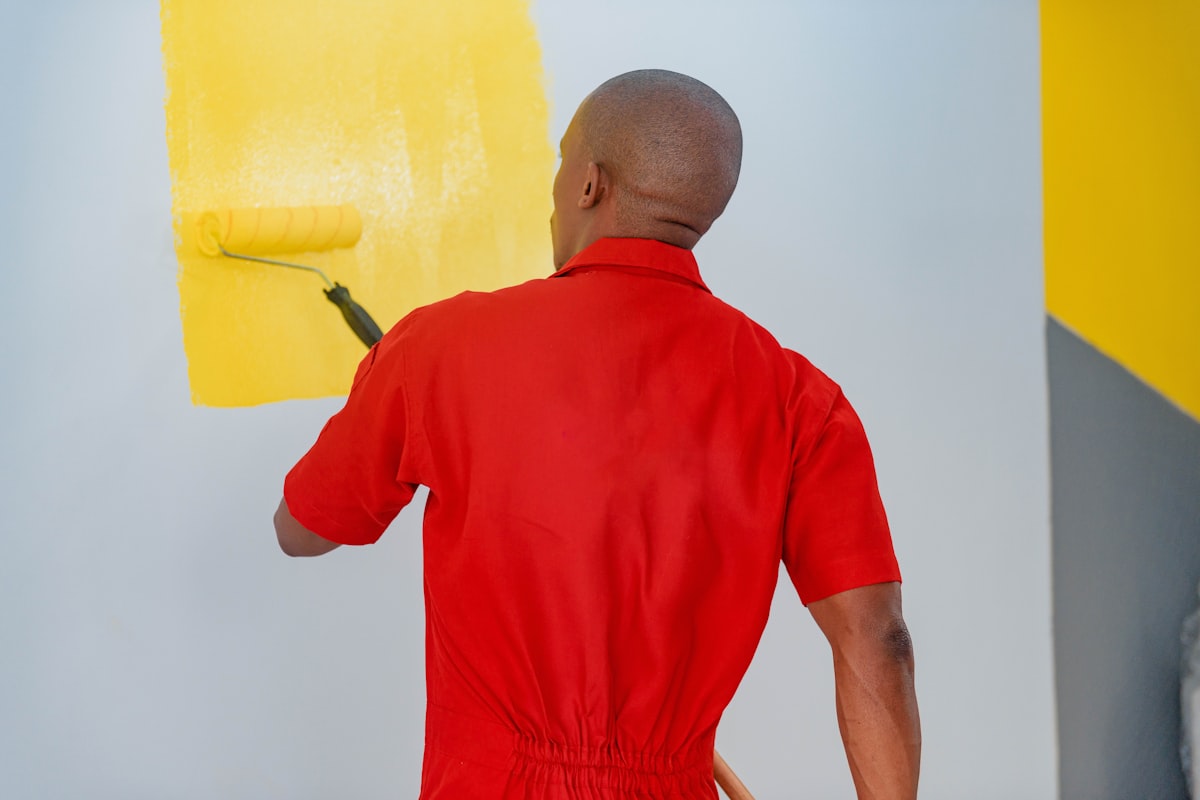
Rolling Technique: Speed and Even Coverage
Rolling is simpler than cutting in, but bad technique still produces bad results. Roller marks, uneven coverage, and “picture framing” (where the cut-in areas are visibly different from the rolled areas) are all common.
Loading the Roller
Pour paint into the well of the tray (not the sloped part). Dip the roller into the well, then roll it up and down the slope 3-4 times to distribute paint evenly across the cover. The roller should be fully loaded but not dripping. If it’s dripping, you’ve got too much — roll it on the slope a few more times.
The W Technique
For each section of wall, start by rolling a rough W or M pattern (about 3 feet wide by 3 feet tall) without lifting the roller. This distributes paint across the section. Then, without reloading, roll back and forth horizontally to fill in the section evenly. Finish with light vertical strokes from top to bottom to smooth out roller marks. Maintain light pressure on these final passes — pressing hard leaves tracks.
Keep a Wet Edge
Like cutting in, the wall should never have a dry edge while you’re still painting. Work systematically — top to bottom, left to right — so each new section overlaps slightly with the wet edge of the previous one. If a section dries before you get back to it, the overlap will be visible.
For large walls, work in vertical strips about 3-4 feet wide. Cut in one strip, roll it, then move to the next. This keeps the wet edge fresh.
Second Coat
The first coat will look blotchy. That’s normal. It doesn’t mean the paint is bad or that you did something wrong. The first coat establishes a uniform base; the second coat provides colour depth and even coverage.
Wait the recommended recoat time on the paint can (usually 2-4 hours for latex). Don’t rush this — applying the second coat too early pulls up the first coat.
The second coat goes on faster because the surface is already sealed and primed. You’ll use less paint per coat after the first.
Paint Types and What Actually Matters
Latex (water-based): Standard for walls and ceilings. Cleans up with soap and water. Low odour. Dries in 1-2 hours. This is what you’re using for 95% of residential painting.
Alkyd (oil-based): More durable, smoother finish, better self-levelling (fewer brushstrokes). Used historically for trim, doors, and cabinets. Requires mineral spirits for cleanup, takes 8-24 hours to dry, and smells strongly. Many states restrict the sale of oil-based paints due to VOC regulations. Modern water-based alkyds (like Benjamin Moore Advance) offer the self-levelling of oil-based paint with water cleanup and low VOCs — an excellent choice for trim and cabinets.
Specialty paints: Bathroom paint (with mildewcide), ceiling paint (ultra-flat, non-drip formula), and cabinet paint (extra-hard, self-levelling) are real product categories with actual formulation differences. They’re not just marketing. Use bathroom paint in bathrooms (Benjamin Moore Aura Bath & Spa is the one to beat). Use cabinet paint on cabinets (Benjamin Moore Advance or Sherwin-Williams Emerald Urethane Trim Enamel). If you’re renovating a bathroom, our bathroom renovation guide covers paint selection for wet environments.
Cleanup That Saves Your Stuff
While painting: Keep a damp rag in your pocket. Wipe up any drips on trim, floor, or skin immediately. Wet latex paint wipes up in seconds. Dried latex paint requires scraping, solvents, or swearing.
Brushes and rollers: Wash latex paint out under running water within an hour of finishing. Work the bristles with your fingers until the water runs clear. For rollers, use the curved end of a 5-in-1 tool to squeeze paint out, then rinse under running water. Shake off excess water and stand brushes upright to dry (never rest a brush on its bristles).
Leftover paint: Seal the can tightly by tapping the lid on with a rubber mallet (not a hammer on the rim, which dents it and prevents a good seal). Store in a climate-controlled space — not the garage where it freezes. Label the can with the room, date, and any custom colour formula. You’ll need it for touch-ups.
Drop cloths: Canvas drop cloths can be reused indefinitely. Fold them up, toss them in the garage. They actually get better with use as accumulated dried paint adds weight.
Common Disasters and How to Fix Them
Drips and runs. If you catch them wet, smooth them out with a brush. If they’ve dried, let the paint cure fully (24+ hours), then sand the drip smooth with 220-grit sandpaper and touch up with a thin coat.
Lap marks (uneven sheen from overlapping dry edges). This is caused by not maintaining a wet edge. The fix is another full coat, applied with better wet-edge discipline. Spot touch-ups make it worse because they create more lap marks.
Roller stipple (heavy orange-peel texture from the roller). Usually caused by low-quality roller covers, too-thick paint, or rolling too aggressively. Sand smooth with 150-grit, then recoat with a quality 3/8-inch nap cover at moderate speed and pressure. Thinning the paint by 5-10% with water (add gradually) can help in dry, hot conditions.
Colour is wrong. It happens. Paint always looks different on a full wall than it does on a paint chip under store lighting. Test patches on the actual wall, viewed at different times of day, before committing. If you’ve already painted the whole room and hate the colour, the only fix is repainting — the good news is, you now have an excellent primer coat under whatever colour you choose next.
Paint peeling. Something went wrong with surface prep. Either the wall wasn’t clean, wasn’t dry, wasn’t primed when it should have been, or the new paint is incompatible with whatever’s underneath (latex over uncured oil-based paint, for instance). Scrape off the loose paint, sand the edges smooth, prime the bare spots, and repaint. If peeling is widespread, it may indicate a moisture problem behind the wall — investigate before repainting.
Room-by-Room Considerations
Not every room is identical. A few specific notes that matter.
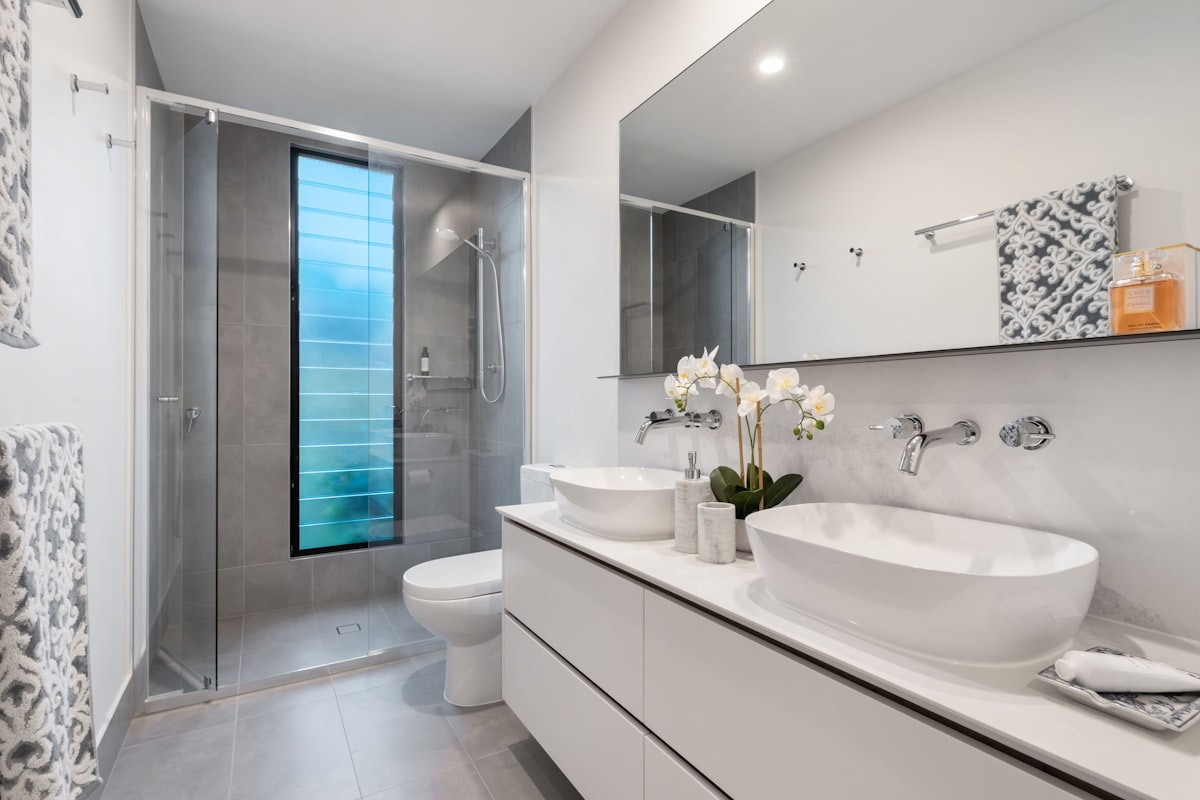
Kitchens and bathrooms need moisture-resistant paint (satin or semi-gloss finish, ideally a bathroom-specific formula). If you’ve set up a smart home system with humidity sensors, check the readings in your bathroom before painting — persistent high humidity can affect paint adhesion and drying time.
Kids’ rooms benefit from satin or semi-gloss for cleanability. Flat paint in a toddler’s room is a recipe for permanent crayon marks.
Ceilings should be painted before walls (gravity and drips). Use a flat white ceiling paint — it hides roller marks and imperfections better than any other finish. Benjamin Moore Waterborne Ceiling Paint ($35/gallon) is the standard.
Dark accent walls require more prep. Tint your primer to a mid-tone grey or close to the final colour so the dark paint covers evenly. Untinted white primer under a dark navy or forest green can take 3-4 coats without tinted primer, versus 2 coats with it.
Frequently Asked Questions
How much paint do I need for a room?
Measure the total wall area (perimeter of the room x wall height), then subtract windows and doors (roughly 15-20 square feet per window, 21 square feet per door). A gallon covers approximately 350-400 square feet. A typical 12x12 room with 8-foot ceilings has about 380 square feet of wall space after subtracting openings — so one gallon per coat, two gallons total for two coats. Buy slightly more than you calculate, because running out mid-wall creates a visible colour difference between batches. Most paint stores accept returns on unopened gallons.
Should I paint the ceiling the same colour as the walls?
Usually, no. White ceilings (or a very light tint of the wall colour) make the room feel taller and brighter. Painting the ceiling the same colour as the walls creates a “wrapped” effect that can feel cosy in small rooms but claustrophobic in large ones. One exception: in rooms with low ceilings (under 8 feet), painting the ceiling the same colour can actually reduce the visual line between wall and ceiling, making the space feel less choppy.
How do I paint behind a toilet or radiator?
With difficulty. A mini roller ($5-$8) on a long handle gets behind toilets and into the space between a radiator and the wall. Alternatively, remove the toilet if you’re confident doing so — it’s easier than fighting with a mini roller and produces a much better result. For radiators, paint when they’re cool and turned off. Old cast-iron radiators can be painted with a spray can of radiator-rated paint — much easier than brushing into all those fins.
Can I paint over wallpaper?
You can, but should you? If the wallpaper is well-adhered, smooth (no texture), and in good condition, you can prime it with an oil-based primer (to prevent the adhesive from reactivating) and paint over it. If it’s peeling, bubbled, or textured, removing it first produces a dramatically better result. Wallpaper removal is tedious but straightforward: score it with a scoring tool, apply wallpaper stripper solution or a 50/50 vinegar-water mix, wait 15 minutes, and scrape. Expect a full day for a single room.
What order should I paint things in a room?
Ceiling first, then walls, then trim and doors. Within each surface, cut in first, then roll. Start cutting in at the top (ceiling line), work down the corners, then around windows and doors. Roll immediately after cutting in each section. For trim, paint from top to bottom: crown moulding, window casings, door frames, baseboards. This sequence ensures that any drips from higher surfaces land on unpainted lower surfaces.