A tube of caulk costs $5-$12. The damage caused by a missing or failed bead of caulk — water intrusion behind a shower surround, air leaks around a window, rot at the base of exterior trim — costs hundreds to thousands of dollars. Caulking is one of the least glamorous home maintenance skills and one of the most valuable. It takes 15 minutes to learn, an afternoon of practice to get decent at, and the rest of your homeowning life to appreciate.
The problem is that most people either never caulk at all (letting deteriorating joints invite water and air damage) or they caulk badly — thick, lumpy beads that crack within a year and look worse than the gap they were meant to seal. A clean, professional-looking caulk joint isn’t difficult. It requires the right product, a clean surface, a steady hand, and one technique that makes all the difference: the right-sized opening on the caulk tube.
Key Takeaways
- Use the right caulk for the application. Silicone for wet areas (showers, tubs, sinks). Paintable latex or acrylic for interior trim and gaps. Polyurethane for exterior joints that move. Using the wrong type guarantees failure.
- Prep is everything. Old caulk must be completely removed before re-caulking. New caulk doesn’t bond to old caulk — it just sits on top and peels off.
- Cut the tube tip small. Beginners cut too large an opening, which produces a fat bead that’s hard to control. Start with 1/8 inch and widen only if needed.
- Push, don’t pull. Drawing the caulk gun toward you (pulling) leaves air pockets behind the bead. Pushing the gun ahead of you fills the gap completely.
- Smooth once, immediately. A wet finger or smoothing tool drawn along the bead once produces a clean concave joint. Going back and forth creates a mess.
Types of Caulk and When to Use Each
Silicone Caulk
Best for: Tub-to-tile joints, shower corners and seams, sinks, around faucets, and anywhere that stays wet.
Properties: Completely waterproof. Stays flexible permanently. Resists mould and mildew (especially formulas with mildewcide). Lasts 20+ years. Does not accept paint — ever.
Products: GE Supreme Silicone Kitchen & Bath ($7-$9), DAP Silicone Max ($8-$10). Either is excellent.
Drawbacks: Smells like vinegar during curing (acetic acid release). Cannot be painted. Difficult to tool — it’s sticky and tends to smear if you’re not quick and confident. Requires a completely dry surface for bonding.
Acrylic Latex Caulk (Painter’s Caulk)
Best for: Interior trim joints, crown moulding gaps, baseboards-to-wall gaps, nail holes in trim, window casing-to-wall joints, and any interior joint where a gap needs to disappear under paint.
Properties: Paintable (the primary advantage). Easy to apply and smooth. Cleans up with water. Low odour. Inexpensive ($3-$6 per tube).
Products: DAP Alex Plus ($4-$5, the all-around standard), Sherwin-Williams 950A, White Lightning.
Drawbacks: Not waterproof — it’s water-resistant at best. Shrinks slightly as it dries. Not suitable for wet areas (showers, tubs). Less flexible than silicone, so it cracks in joints that move significantly (exterior applications, expansion joints).
Siliconized Acrylic Latex
Best for: A hybrid that works for kitchen backsplash seams, bathroom vanity-to-wall (not inside the shower), and mild-moisture areas.
Properties: Paintable like latex, more water-resistant than pure latex (though not waterproof like silicone). More flexible than pure latex. A good compromise product.
Products: DAP Alex Flex ($5-$7), GE Siliconized Acrylic ($5-$7).
Polyurethane Caulk
Best for: Exterior applications — around windows and doors, siding joints, and anywhere subject to weather, temperature swings, and movement.
Properties: Extremely flexible and durable. Bonds to almost anything including concrete, wood, metal, and PVC. Paintable. Lasts 25+ years. The toughest all-around caulk.
Products: Loctite PL S30 ($6-$8), Sashco Big Stretch ($8-$10), OSI Quad ($7-$9).
Drawbacks: Messy — polyurethane is sticky and difficult to clean from skin and tools. Requires mineral spirits for cleanup. Slower cure time (24-48 hours). More expensive than latex.
Specialty Products
Kitchen and bath caulk with mildewcide: Any silicone or siliconized latex labelled “Kitchen & Bath” includes a biocide that inhibits mould growth. Use this (not generic silicone) for all bathroom applications.
Fire-rated caulk: Required by code around penetrations in fire-rated walls and ceilings (like where pipes or wires pass through). Not a standard homeowner concern unless you’re finishing a basement or making structural modifications.
Butyl rubber caulk: For gutter seams and roofing applications. Not for interior use.
Tools You Need
- Caulk gun: A basic $5-$8 dripless caulk gun works fine. The “dripless” mechanism (a spring that retracts the plunger slightly after each squeeze) prevents the caulk from oozing after you release the trigger. Worth the extra $2 over the cheapest gun.
- Utility knife: For cutting the tube tip and for removing old caulk.
- Caulk removal tool: A plastic or metal scraper designed for pulling old caulk from joints ($5-$8). The 3-in-1 tools from DAP or Red Devil work well.
- Painter’s tape: Masking both sides of the joint produces a clean, straight edge. Not strictly necessary once you have some experience, but very helpful for beginners and for any visible joint.
- Smoothing tool or your finger: A caulk finishing tool ($5-$8) creates a consistent concave bead. A wet finger works equally well.
- Rubbing alcohol or denatured alcohol: For cleaning silicone residue. Mineral spirits for polyurethane cleanup.
- Paper towels and a spray bottle of soapy water: For cleanup and for wetting your finger before smoothing.
Removing Old Caulk: The Step Most People Skip
You cannot caulk over old caulk and expect it to last. New caulk bonds to clean surfaces — tile, wood, porcelain, painted drywall. It does not bond to old, deteriorated caulk. If you apply new caulk over old, it will peel away within months, usually taking the old caulk with it and leaving you worse off than before.
How to Remove Old Caulk
Step 1: Soften the old caulk. For silicone, apply a caulk remover product (DAP Caulk-Be-Gone, $5-$7) and let it sit for 2-3 hours. It won’t dissolve the caulk, but it softens the bond. For latex caulk, soaking with warm water for 30 minutes helps.
Step 2: Cut along both edges of the caulk bead with a utility knife. This breaks the bond between the caulk and the surfaces on either side.
Step 3: Pull the caulk out in strips using a caulk removal tool, a putty knife, or needle-nose pliers. Old silicone comes out in rubbery strips. Old latex tends to crumble. Be patient — rushing this step gouges the surfaces and leaves residue.
Step 4: Clean the joint thoroughly. Scrape any remaining residue with a razor blade (on tile or glass) or a plastic scraper (on painted surfaces). Wipe with rubbing alcohol (for silicone residue) or TSP solution (for latex residue). The surfaces should be completely clean and dry before new caulk goes on.
In a bathroom, this step alone takes 30-60 minutes. It’s tedious. It’s also the difference between a caulk job that lasts five years and one that peels in five months. If your bathroom is due for a broader refresh, consider addressing other maintenance at the same time — our bathroom renovation guide covers what else to tackle while you’ve got the room apart.
The Technique: How to Apply a Clean Bead
Cutting the Tip
Every caulk tube has a tapered plastic nozzle. Cut the tip at a 45-degree angle using a utility knife. The size of the opening determines the width of the bead.
The most common beginner mistake: cutting the tip too big. A 1/4-inch opening produces a fat bead that’s hard to smooth and wastes caulk. Start with a 1/8-inch opening — you can always cut it wider, but you can’t make it smaller.
For a tub-to-tile joint (a 1/8 to 1/4-inch gap), a 1/8-inch opening is perfect. For larger gaps (up to 3/8 inch), open the tip to 3/16 inch. For very large gaps (over 3/8 inch), use a backer rod (a foam rope, $3-$5 at any hardware store) pushed into the gap first, then caulk over it. Caulk is a sealant, not a filler — it shouldn’t be more than 3/8 inch deep.
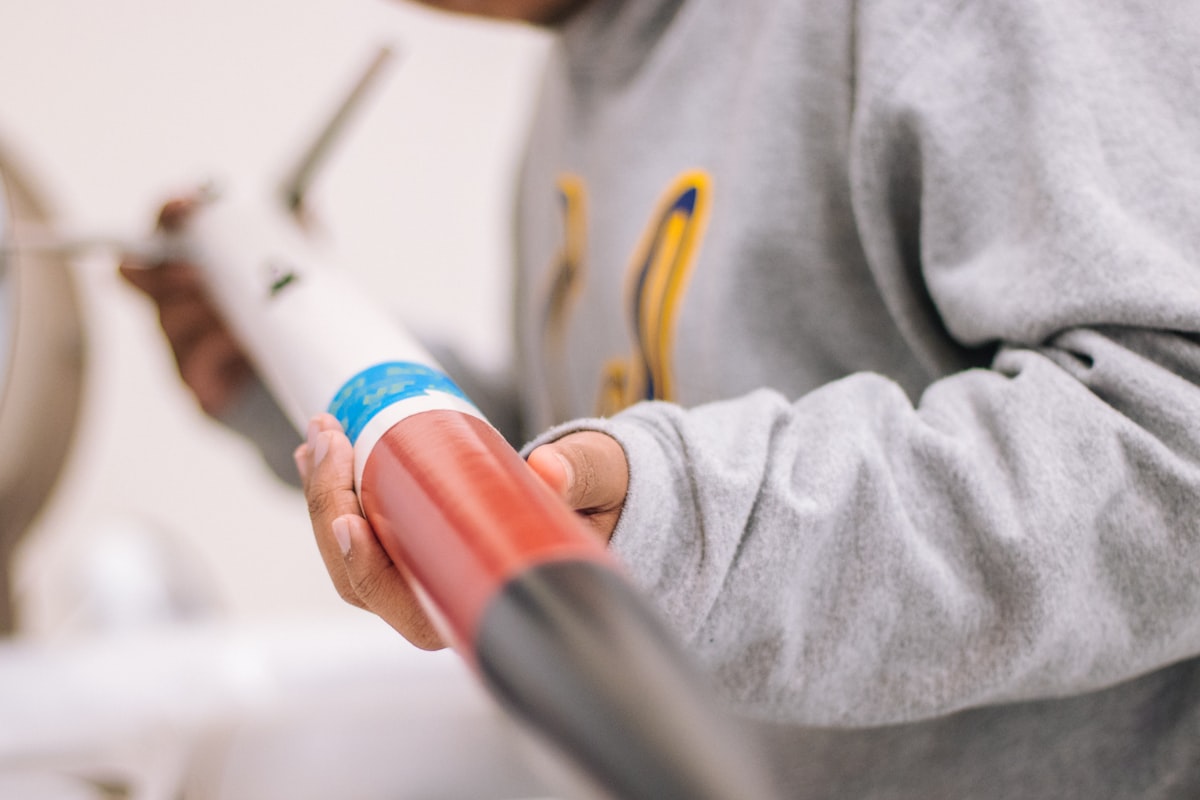
Loading the Gun
Insert the caulk tube into the gun with the nozzle facing forward. Pull the plunger back, drop the tube in, and push the plunger until it contacts the tube’s back plate. Squeeze the trigger a few times until caulk appears at the tip.
Applying the Bead
Use tape for clean edges (optional but recommended for beginners). Apply painter’s tape along both sides of the joint, leaving the gap exposed. This creates a crisp edge on the finished bead. Leave 1/8 to 1/4 inch of the surface exposed on each side of the gap — this is where the caulk will bond.
Push, don’t pull. Hold the gun at a 45-degree angle to the surface and push it along the joint — meaning the nozzle tip is ahead of the caulk bead, and you’re moving the gun so the nozzle leads. Pushing forces caulk into the gap, filling it completely. Pulling (dragging the gun behind the bead) lays caulk over the surface without filling the gap beneath.
Maintain steady pressure and speed. Squeeze the trigger at a consistent rate and move the gun at a consistent speed. Too fast means a thin, gappy bead. Too slow means a fat, bulging bead. Aim for a bead that slightly overfills the gap — you’ll smooth it down next.
Work in manageable sections. For long runs (like the full perimeter of a bathtub), work in 3-4 foot sections. Apply the bead, smooth it, then move to the next section, overlapping slightly where sections meet. Caulk starts to skin over in 5-15 minutes depending on the product, and you can’t smooth skinned caulk.
Smoothing the Bead
This is the step that makes or breaks the appearance. You have 2-5 minutes after application before the caulk starts to set.
With your finger: Dip your finger in a cup of soapy water (a drop of dish soap in a cup of water). This prevents the caulk from sticking to your skin. Draw your finger along the bead in one smooth, continuous motion, applying light, even pressure. Your finger creates a concave profile that sheds water (in wet areas) and looks professional. Wipe the excess caulk from your finger onto a paper towel.
With a caulk finishing tool: Same motion, same single pass. Finishing tools come in various profiles — concave, flat, and angled.
The cardinal rule: one pass. Going back and forth, poking at imperfections, and trying to “fix” the bead always makes it worse. One smooth pass, accept the result, and move on. Minor imperfections in the bead are invisible once the caulk cures and the tape is removed. A bead that’s been fussed with for 30 seconds looks terrible.
If you used tape, remove it immediately while the caulk is still wet. Pull the tape slowly at a 45-degree angle, away from the caulk line. Waiting until the caulk is dry pulls caulk up with the tape.
Application-Specific Guidance
Bathtub and Shower
The tub-to-tile joint is the most common caulking task in a home, and the most critical — this joint prevents water from getting behind the tile and into the wall cavity, where it causes mould, rot, and structural damage.
Always use 100% silicone with mildewcide for tub and shower joints. Latex caulk in a shower fails within a year.
Pro tip: Fill the bathtub with water before caulking the tub-to-tile joint. A full tub sags slightly on its supports, opening the joint to its widest point. Caulking at maximum width means the bead compresses (rather than stretches) when the tub is empty. This prevents the caulk from pulling away from the joint during normal use. Drain the tub after the caulk has cured (24 hours for most silicone).
Caulk, don’t grout, the tub-to-tile joint. Grout is rigid and cracks when the tub moves (which it does, every time it fills and empties). Caulk flexes with the movement. If a tiler grouted this joint, scrape it out and replace it with caulk.
Interior Trim and Baseboards
Gaps between trim and walls are common in every house, new or old. Wood expands and contracts seasonally, and walls are rarely perfectly flat. A thin bead of paintable acrylic latex caulk ($4 tube of DAP Alex Plus) fills these gaps, and the difference in appearance after painting is dramatic.
Fill the gap, don’t bridge it. For gaps up to 1/4 inch, apply a thin bead and smooth with a wet finger. For larger gaps, use lightweight spackle first, then caulk the remaining hairline joint. Caulk isn’t designed to bridge large gaps — it sags, cracks, and looks terrible.
Caulk before the final coat of paint. If you’re painting a room, caulk all trim joints after priming and before the final topcoat. The paint covers the caulk, creating a unified, seamless appearance.
Windows and Doors (Exterior)
Exterior caulking seals the gaps between your home’s siding and window/door frames, preventing water intrusion and air leaks. Use polyurethane or high-performance siliconized acrylic.
Caulk where the trim meets the siding, not between the glass and the frame (that’s glazing compound, a different product). Run a continuous bead along the top and sides of the trim-to-siding joint. Do not caulk the bottom of the window trim — this is the weep edge, where any water that gets behind the trim can drain out. Sealing the bottom traps moisture.
Check existing caulk annually in fall. Exterior caulk takes a beating from UV exposure, temperature cycling, and weather. Even quality polyurethane needs re-doing every 10-15 years. Cracked, peeled, or separated caulk should be replaced before winter. Sealing air leaks around windows and doors is one of the highest-impact energy efficiency improvements you can make — more effective than most people realize.
Countertop to Backsplash
The joint where a kitchen countertop meets the backsplash tile is prone to cracking because the counter and wall move independently. Use siliconized acrylic (paintable if you want to match) or colour-matched silicone.
Tape both surfaces for a clean line, as this joint is at eye level and every imperfection shows.
Troubleshooting Common Caulk Problems
Caulk won’t stick. The surface is dirty, wet, or oily. Clean with rubbing alcohol, dry completely, and try again. Silicone is especially sensitive to residual moisture or soap film.
Caulk cracks within months. Either the wrong product was used (latex in a wet area, rigid caulk in a joint that moves) or the bead was too thin. A proper caulk joint should be at least 1/8 inch wide and deep enough to absorb movement without cracking.
Mould growing on bathroom caulk. Mould grows on caulk surfaces when they stay wet and aren’t cleaned. Even mildewcide-treated silicone can develop surface mould in poorly ventilated bathrooms. The fix: improve ventilation (run the exhaust fan for 15-20 minutes after every shower), wipe down caulk joints weekly, and spray with a diluted bleach solution (1 part bleach to 10 parts water) monthly. If the mould is behind the caulk (between the caulk and the surface), the only fix is removal and re-caulking.
Messy bead — lumpy, uneven, or too fat. Almost always caused by too large an opening in the nozzle tip, inconsistent speed, or attempting to smooth the bead multiple times. Practice on a scrap piece of cardboard or the back of a tile sample before doing the visible work.
Caulk tube dried out before you finished. Insert a long nail or screw into the nozzle tip to seal it between sessions. Wrap the tip with plastic wrap and a rubber band. Even with these measures, an opened tube of caulk lasts 2-4 weeks before drying out. Use it promptly.
Frequently Asked Questions
How long does caulk take to dry?
Acrylic latex caulk skins over in 30-60 minutes and is paintable in 1-2 hours. It reaches full cure in 24 hours. Silicone skins over in 30 minutes and reaches full cure in 24 hours — but don’t expose it to water for the full 24 hours. Polyurethane takes 24-48 hours to fully cure. “Dry” and “cured” are different — caulk may feel dry to the touch in an hour but isn’t fully cured (and shouldn’t be stressed or exposed to water) for the full cure time.
Can I caulk over grout?
No. Caulk and grout serve different purposes. Grout fills the spaces between tiles and is rigid. Caulk seals joints where two surfaces meet and is flexible. Caulk applied over grout lines will peel off because it can’t bond to the rough, porous grout surface. If a grout line is cracked, repair it with new grout. If a joint where tile meets a different surface (tub, countertop) is failing, remove the grout from that joint and replace it with caulk.
How often should I re-caulk my bathroom?
Interior bathroom silicone typically lasts 5-10 years. Inspect it annually — look for separation from the surfaces, cracks, discolouration, or mould that can’t be cleaned. If the caulk is pulling away from the tile or tub, it’s time to replace it. Some showers in daily use by a large family may need re-caulking every 3-5 years. A guest bathroom might go 10+ years.
What’s the best caulk colour for a bathtub?
White matches most tubs and tile, and white silicone is the most widely available. Clear silicone is useful when the surfaces on either side are different colours — clear becomes translucent when cured, which is less visible than a white line. For coloured tile or natural stone, look for colour-matched caulk from the tile manufacturer or use clear. Never use white caulk against dark tile — the contrast highlights every imperfection.
My caulk gun keeps dripping after I release the trigger. What’s wrong?
You either have a non-dripless gun (upgrade to a dripless model for $5-$8) or the pressure release mechanism on your dripless gun is stuck. On a dripless gun, releasing the trigger should slightly retract the plunger, releasing pressure on the tube. If this mechanism is gummed up, clean the plunger rod with a rag and a drop of WD-40. Alternatively, immediately after each run, press the thumb release on the back of the gun to disengage the plunger — this stops all flow.