An electrician charges $150-$350 to install a ceiling fan, and for some situations that’s money well spent. For others, it’s $250 for a job that takes 45 minutes and requires nothing more than a screwdriver, a wire stripper, and basic familiarity with your circuit breaker panel. The difference between those two scenarios comes down to one question: is there already a ceiling-mounted electrical box where you want the fan?
If you’re replacing an existing ceiling fan or swapping a light fixture for a fan on a fan-rated box, this is a straightforward DIY project — the same wiring basics carry over to swapping fixtures in our outdoor lighting guide, too. If you need to run new wiring through the ceiling to a location that doesn’t currently have power — that’s an electrician’s job unless you’re experienced with residential wiring.
Here’s the honest breakdown of what you can handle yourself, what gets complicated, and how to do the actual installation safely.
Key Takeaways
- Replacing an existing fan is a beginner-friendly DIY project — 30-60 minutes, basic tools, no new wiring.
- Replacing a light fixture with a fan requires verifying the electrical box is fan-rated. Standard light fixture boxes aren’t designed to support the weight and vibration of a ceiling fan. This is a safety issue, not a suggestion.
- New installations where no electrical box exists require running new wire — a job for a licensed electrician unless you’re experienced with home electrical work.
- Fan size is determined by room size. A fan that’s too small moves too little air. A fan that’s too large overwhelms the room and creates an uncomfortable wind-tunnel effect.
- Always turn off the circuit breaker, not just the wall switch. Verify the power is off with a non-contact voltage tester before touching any wires. This is non-negotiable.
Sizing Your Fan
Ceiling fan size is measured by blade span (the diameter of the circle the blades trace). Bigger rooms need bigger fans — this seems obvious, but undersized fans are one of the most common mistakes.
Up to 75 sq ft (small bedrooms, bathrooms, walk-in closets): 29-36 inch span.
76-144 sq ft (standard bedrooms, home offices): 36-42 inch span.
144-225 sq ft (living rooms, master bedrooms): 44-50 inch span.
225-400 sq ft (large living rooms, great rooms): 52-56 inch span.
Over 400 sq ft: Use two fans or a single 60-72 inch industrial-style fan.
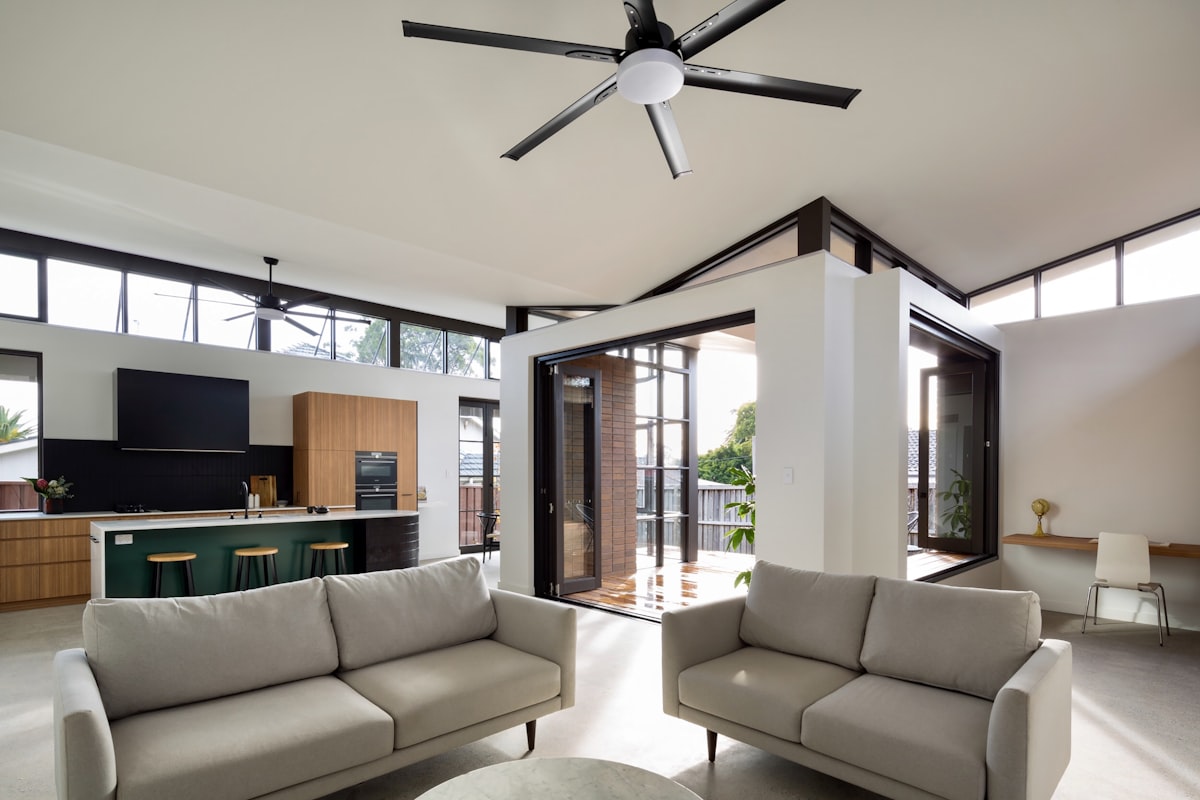
Ceiling Height and Mounting
Standard ceilings (8 feet): Use a flush-mount (hugger) fan that mounts directly to the ceiling without a downrod. Fan blades should be at least 7 feet above the floor for safety and at least 8-10 inches below the ceiling for airflow efficiency. With an 8-foot ceiling and a flush mount, you’ll typically have 7.5-8 feet of clearance.
9-foot ceilings: A standard 3-4 inch downrod gives ideal blade height at about 8 feet above the floor.
10+ foot ceilings: Use a longer downrod. The formula: ceiling height minus 8 feet (desired blade height) minus the fan body height (typically 12-16 inches) equals the downrod length needed. Many fans come with a 3-5 inch downrod; longer ones ($10-$20) are sold separately in standard lengths.
Vaulted or sloped ceilings: Most modern fans include or accept angled mounting hardware for slopes up to 30-45 degrees. Check the fan’s specifications before purchasing. A downrod is necessary on sloped ceilings to keep the fan level.
When You Can DIY vs. When to Hire
DIY: Replacing an Existing Ceiling Fan
If there’s already a fan hanging where you want a fan, this is a direct swap. The electrical box is already fan-rated (it’s holding a fan right now), the wiring is already run, and you’re just disconnecting the old unit and connecting the new one. Skill level: beginner. Time: 30-60 minutes.
DIY with Caution: Replacing a Light Fixture with a Ceiling Fan
This is where it gets nuanced. The wiring is already there, but two things need to be verified:
1. The electrical box must be fan-rated. A standard light fixture box (often a 4-inch octagonal plastic box) supports 15-25 pounds. A ceiling fan weighs 25-50+ pounds and creates rotational force and vibration. A fan falling from the ceiling is a genuine safety hazard.
Fan-rated boxes are labelled “Acceptable for Fan Support” or “For Use with Ceiling Fans” and are typically metal, attached to a brace that spans between ceiling joists. If you remove the existing light fixture and find a flimsy plastic box attached to one side of a single joist with two nails — that’s not fan-rated and needs to be replaced.
Replacement options: A retrofit fan brace bar ($15-$25) slides through the existing hole in the ceiling, expands between joists, and provides a fan-rated mounting point without access from above. The Westinghouse Saf-T-Brace is the most common version. Installation requires removing the old box, inserting the brace, expanding it until it grips both joists, tightening the set screws, and attaching a new fan-rated box to the brace. Twenty-minute job with the fixture removed.
2. The wiring needs to support separate fan and light controls (optional but preferred). If the existing light fixture has one switch, you’ll have one wall switch controlling both the fan and light. To control them independently from the wall, you need two separate switch legs — which means a three-conductor cable (black, red, white, ground) running from the switch box to the ceiling box. Many homes only have two-conductor cable (black, white, ground) to ceiling fixtures.
The workaround: a wireless remote control, which comes with most ceiling fans sold today. The remote module installs inside the fan canopy and lets you control the fan speed and light independently without additional wall wiring. This eliminates the need for new switch wiring entirely, and it’s how most homeowners solve this problem.
Hire an Electrician: New Installation with No Existing Electrical Box
If there’s no wiring at all where you want the fan — you’re looking at a blank ceiling — you need new electrical cable run from a switch to the ceiling location, a new circuit or tie-in to an existing circuit, an electrical box installed between joists, and a new wall switch installed. This involves opening drywall, running cable through framing, and potentially working in the attic. It’s a licensed electrician job: $250-$500 depending on complexity and access.
If your attic is accessible above the location, the cost is on the lower end. If it’s a finished ceiling with no access from above, expect the higher end plus drywall patching.
Tools and Materials for a DIY Installation
Tools:
- Screwdrivers (Phillips and flathead)
- Wire strippers
- Non-contact voltage tester ($15-$20 — this is a mandatory safety tool, not optional)
- Pliers or adjustable wrench
- Stepladder appropriate for your ceiling height
- Drill/driver (for mounting bracket screws)
Materials (if replacing the electrical box):
- Retrofit fan brace bar ($15-$25)
- Fan-rated electrical box (often included with the brace bar)
- Wire nuts (usually included with the fan)
The fan itself: Budget models start at $50-$80 (Hampton Bay and Harbor Breeze at Home Depot/Lowe’s). Mid-range fans run $100-$200 (Hunter, Minka-Aire). Premium fans cost $200-$500+ (Big Ass Fans, Modern Forms, Fanimation). The quality difference shows in motor noise (or lack thereof), balance, finish durability, and how long the motor lasts. A $50 fan wobbles and hums by year three. A $150 fan runs silently for a decade.
Step-by-Step Installation
These instructions cover replacing an existing fan or fixture with a fan-rated box already in place. If you need to install a fan brace, do that first.
Step 1: Kill the Power
Turn off the circuit breaker for the ceiling fixture. Not the wall switch — the breaker. Wall switches don’t disconnect the neutral wire, and a miswired switch might not disconnect the hot wire either.
After turning off the breaker, turn the wall switch on and verify the old fixture/fan has no power. Then hold a non-contact voltage tester against the wires in the ceiling box to confirm they’re dead. A non-contact tester beeps or lights up in the presence of live voltage. If it activates, you have the wrong breaker. Find the right one.
Safety warning: Working with live electrical wiring can cause electrocution, severe burns, or death. Always verify power is off at the breaker with a voltage tester. If you’re uncomfortable with electrical work at any point, stop and call an electrician. No ceiling fan is worth a hospital visit.
Step 2: Remove the Old Fixture
Support the old fan or fixture’s weight (have someone hold it or hang it from a sturdy hook on the box). Disconnect the wire nuts connecting the house wiring to the fixture wiring. There are typically three connections: black to black (hot), white to white (neutral), and green or bare to green or bare (ground). The old fixture should now be free. Set it aside.
Step 3: Install the Mounting Bracket
Every ceiling fan comes with a specific mounting bracket that attaches to the electrical box. This bracket is not universal between brands — use the one that came with your fan.
Attach the bracket to the fan-rated box using the provided screws. The bracket should sit flush against the ceiling and be firmly secured. Some brackets include a hook or ball-and-socket that the fan hangs from temporarily while you do the wiring — a crucial feature that lets you work hands-free.
Step 4: Assemble the Fan (Partially)
Most fans need partial assembly before mounting. At minimum, thread the wires through the downrod (if using one) and attach the downrod to the motor housing. Do not attach the blades yet — working overhead with blades attached is awkward and risks bending them.
If the fan includes a wireless remote receiver module, install it in the canopy or fan housing now, following the manufacturer’s instructions. This typically involves connecting the receiver’s input wires to the house wiring and the output wires to the fan motor and light leads.
Step 5: Hang the Fan and Connect Wiring
Hang the fan’s motor assembly on the mounting bracket’s hook or ball joint. This supports the weight while you connect wires, leaving both hands free.
Connect the wires:
Standard wiring (one wall switch, no remote):
- Black (house) to black (fan) — this powers both the fan motor and light
- White (house) to white (fan) — neutral
- Green or bare copper (house) to green (fan) — ground
Two-switch wiring (separate wall switches for fan and light):
- Black (house, from one switch) to black (fan motor)
- Red (house, from the other switch) to blue (fan light)
- White (house) to white (fan) — neutral
- Green or bare (house) to green (fan) — ground
With remote control module:
- Follow the module’s wiring diagram, which typically connects house hot and neutral to the module input, and the module output to the fan motor and light leads separately.
Secure all connections with wire nuts. Tug each connection gently to verify it’s tight. Tuck the wires into the electrical box, ensuring no bare copper is exposed outside the wire nuts.
Step 6: Secure the Canopy
Lift the fan canopy up against the ceiling and secure it to the mounting bracket using the provided screws. The canopy should sit flush against the ceiling with no gaps or wobble.
Step 7: Attach the Blades
Attach each blade to its blade arm (if separate), then attach each blade arm to the motor housing. Tighten all screws firmly but don’t overtighten — the blade arms are often thin metal that can strip.
Step 8: Install the Light Kit
If your fan has a light kit, attach it to the bottom of the fan housing. Connect the wiring (usually a plug-and-socket connection — no wire nuts needed). Install the glass shade and light bulbs.
Step 9: Restore Power and Test
Turn the breaker back on. Turn the wall switch on. Test the fan at all speeds. Test the light. Test the pull chains or remote control. If the fan wobbles, turn it off and check that all blades are equally tightened and at the same angle. A blade balancing kit ($5, often included with the fan) uses small adhesive weights on the blades to correct minor wobble.
Fan Direction: The Setting Most People Forget
Ceiling fans have a direction switch on the motor housing (a small toggle, usually near the pull chain).
Summer (counterclockwise when viewed from below): This is the standard direction. The fan pushes air straight down, creating a wind-chill effect that makes the room feel 4-8 degrees cooler. This doesn’t actually lower the temperature — it cools people, not rooms. Turn fans off in unoccupied rooms.
Winter (clockwise when viewed from below): At low speed, the fan pulls air up to the ceiling and circulates warm air that’s stratified near the top of the room. This is useful in rooms with high ceilings where warm air pools above head height. Set the fan to low speed — you shouldn’t feel a breeze.
Using fans seasonally and adjusting your thermostat by a few degrees can reduce heating and cooling costs by 10-15%. It’s one of the easiest energy efficiency improvements you can make.
Common Installation Problems
Wobbling fan. The most common complaint. Causes: unbalanced blades (use the balancing kit), loose blade screws, a warped blade (swap blades position to identify the culprit), or a mounting bracket that isn’t flush to the box. Systematic troubleshooting: tighten all screws first, then use the balancing kit, then check for a warped blade by laying each one on a flat surface.
Humming or buzzing. Usually caused by the motor interacting with a dimmer switch. Ceiling fan motors should be on a standard toggle switch or a fan-rated speed control, not a standard dimmer. If your wall switch is a dimmer, replace it with a toggle switch ($3) or a fan-speed control switch ($15-$25).
Fan runs but light doesn’t work (or vice versa). Check the wiring connections. A common mistake is connecting both the motor and light leads to the same wire, leaving one function unpowered. With a remote module, check that the module is receiving power and the remote has a working battery.
Remote control range issues. Make sure the remote and receiver are set to the same frequency/DIP switch settings (check the manual). Remove the battery, wait 10 seconds, reinstall, and re-pair. If the receiver is inside a metal canopy, the range may be limited — this is a known issue with cheaper fans.
Frequently Asked Questions
Can I install a ceiling fan on a standard light fixture box?
No, not safely. Standard light boxes are rated for 35-50 pounds of static weight. A ceiling fan creates dynamic load — vibration and rotational torque — that can work a light box loose from the ceiling over time. Fan-rated boxes are secured between two joists and rated for the specific forces a fan creates. If your existing box isn’t fan-rated, install a retrofit fan brace bar before mounting the fan. Skipping this risks the fan falling, which could cause serious injury.
Do I need a permit for ceiling fan installation?
In most jurisdictions, replacing a fan or fixture on an existing circuit with an existing box doesn’t require a permit. Installing a new circuit, new wiring, or a new electrical box technically requires a permit and inspection in many areas — though enforcement varies widely. If you’re hiring an electrician for new installation, they handle the permit. If you’re doing it yourself and adding new wiring, check your local building department’s requirements. Unpermitted electrical work can cause issues with insurance claims and home sales.
Can I install a ceiling fan where a recessed (can) light is?
Yes, but it requires a conversion kit or a different approach. You’ll need to remove the recessed housing, install a fan brace bar between the joists, attach a fan-rated box, and then install the fan. The existing wiring from the recessed light can usually be reused. This is a more advanced DIY project that requires attic access or cutting the hole in the ceiling larger to install the brace bar. A retrofit brace bar designed for remodel work makes this feasible without attic access.
How much does a ceiling fan save on energy bills?
A ceiling fan running on medium speed uses about 30-50 watts — roughly $3-$5 per month if run 12 hours daily. By creating a wind-chill effect that lets you raise the thermostat by 4 degrees in summer, a fan can save $50-$100 per cooling season on air conditioning costs. The payback period for a $150 fan is typically one to two summers.
My ceiling fan’s pull chain broke. Can I fix it?
Yes. Replacement pull chain switches cost $5-$10 and are available at hardware stores. Turn off the breaker, remove the fan’s canopy or light kit to access the switch housing, disconnect the broken switch, and wire in the new one (noting which wire connects to which terminal). It’s a 20-minute repair. Alternatively, if you’re already opening the fan up, this is a good time to add a wireless remote kit ($20-$30), which eliminates the pull chain entirely.